The 2-Month Debate Is Over: Why WOSADO Magnetic Lashes Are Your New Beauty Holy Grail
Introduction Let me spill the tea: Our studio has been at war for four solid months over WOSADO Magnetic Lashes. The team was split down the middle. One side called them a gimmick; the other side swore they were a money-saving revolution that looked stunning. Instead of arguing, I put my reputation as a "Lash Master" on the line to put them to the ultimate test. The verdict? These aren't just lashes; they are a lifestyle upgrade. If you have been on the fence, here is why it is time to stop hesitating and start elevating your look.
AMAZON AFFILIATE
12/13/20252 min read
Why WOSADO Is a Game-Changer
After rigorous testing, these lashes hit three major sweet spots that make them superior to traditional falsies.
1. The "Clamp-and-Go" Convenience
Forget spending 20 minutes fiddling with tweezers and sticky strips. The logic here is identical to using a standard eyelash curler. Once you master the simple technique, it is literally a "clamp-and-go" situation. You can be ready in seconds.
2. Liberate Your Eyes (Zero Glue, Zero Damage)
This is the biggest selling point. No glue means no irritation. If your eyes get red, puffy, or itchy the second latex hits your lids, WOSADO is your solution. The magnetic design is a physical attachment, making it a true lifesaver for sensitive eyes and contact lens wearers.
3. An Investment, Not an Expense
Stop throwing money away on disposable lashes that get gross after one use. WOSADO lashes are durable, easy to clean, and reusable. They don’t rip out your natural lashes, and the cost-per-wear value is unbeatable.
Master Class: The Secret to "Bulletproof" Wear
Some people worry about magnetic lashes sliding off. That only happens if you skip the prep! Follow my "Master Method," and these lashes will stay put through dinner, dancing, and everything in between.
Phase 1: The Prep (Do Not Skip!)
·
Curl & Define: Give your natural lashes a serious curl to create a base.
·
·
The Secret Weapon: You must use the included Eyelash Fixer. Apply a thin coat from root to tip, then add 1-2 extra coats right at the roots. This locks the curve and gives the magnets friction so they never slide.
·
Phase 2: The Sandwich Method
·
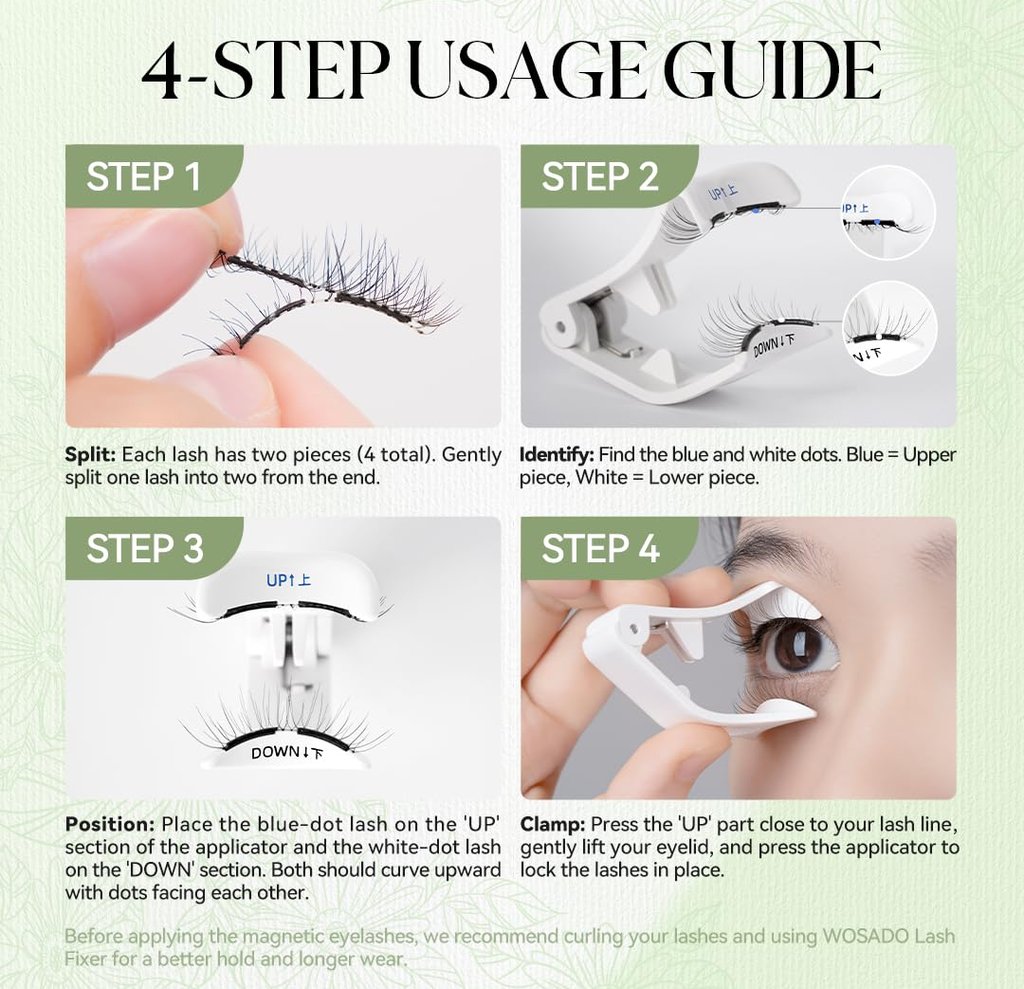
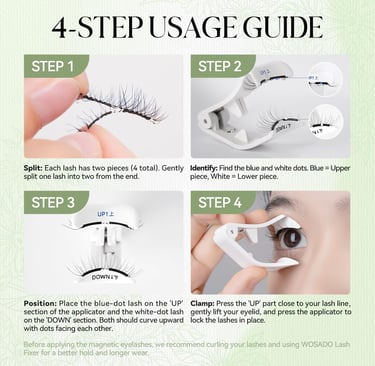
Check the Dots: The strip with the Blue Dot is the Upper Lash (goes on the UP side of the clip). The strip with the White/No Dot is the Lower Lash (goes on the DOWN side).
·
·
The Push Technique: When applying, use the curved part of the applicator to physically push against your eyelid. This forces your natural lash roots to flip outward.
·
·
Clamp: Once the roots are exposed, clamp down and release. Done!
·
Who Is This For? (The Moment of Truth)
I believe in honest recommendations. WOSADO is an incredible tool, but it requires a tiny bit of initial effort.
·
If you have zero patience to learn a new skill: stick to mascara.
·
·
If you have severely hooded eyes that "eat" your lash line: these might be tricky for you.
·
·
HOWEVER...
·
·
If you are willing to spend just 10 minutes practicing to save hundreds of hours of makeup time in the future...
·
·
If you want to look polished and expensive without the hassle of glue...
·
...then these lashes were made specifically for you.
The Verdict: It’s Time to Buy
Lashes are the soul of eye makeup. They wake up your face and finish your look.
If you are looking for a refined, realistic look that you can take off in seconds without ripping out your real lashes, WOSADO is worth the hype.
Don't let a learning curve scare you away from the most convenient beauty innovation of the year. Your eyes deserve the upgrade.
A Note on Affiliates:
I hope you love the products recommended in this article! Just so you know, this post contains affiliate links. As an Amazon Associate, I earn from qualifying purchases. If you choose to buy through my links, I may earn a small commission (at no additional cost to you). This helps me keep testing new beauty products and creating content for you. Thank you for your support!